Changing the character model
Intro
Make sure you are targeting the UE4 Skeleton. Here is a tutorial on how to use the retarget manager to retarget the skeleton
Quick video tutorial this guide was created from can be found here: [1]
Instructions
1. Make a player proxy. Right-click in the content browser and choose blueprint class
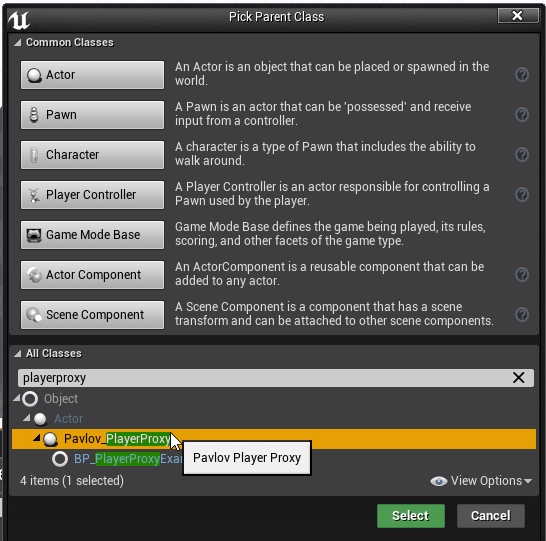
2. Expand all classes at the bottom
3. Create a Pavlov_playerproxy (find in search)
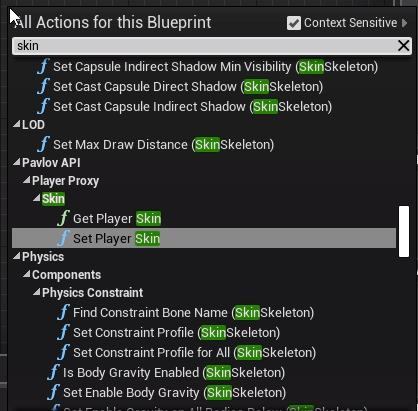
4. Open the blueprint and right-click inside the event graph
5. You will find a function to set the player skin
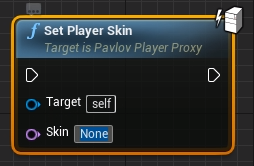
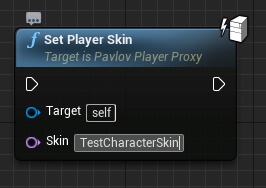
6. You will see in the screenshot below that the skin name defaults to none. This will need to be set and have a skin or character input... Also, you will see in the upper right an indicator that it needs to run on a server and has authority.
7. In the content browser go into the CustomMapTools Content folder and the Examples folder inside that. You will see a PlayerSkinTable
8. Inside that you will find a default mannequin called SK_Mannequin
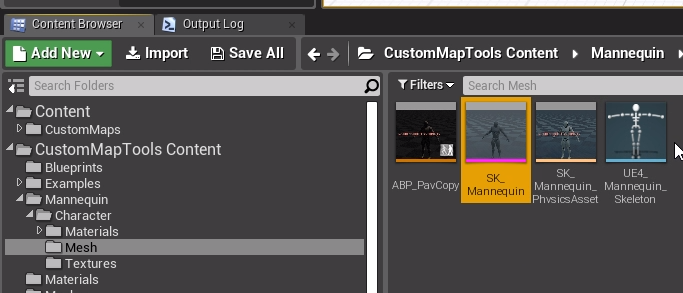
9. Click on the magnifying glass and it will take you to the content browser path: CustomMapTools Content > Mannequin > Mesh > SK_Mannequin
This is what we are going to have all of your skeletons target if you are going to be adding new skeletons
10. Go back to your PlayerSkinTable and copy it and drop it somewhere into your UGC folder and open it up and click on the plus sign to add new row to the data table
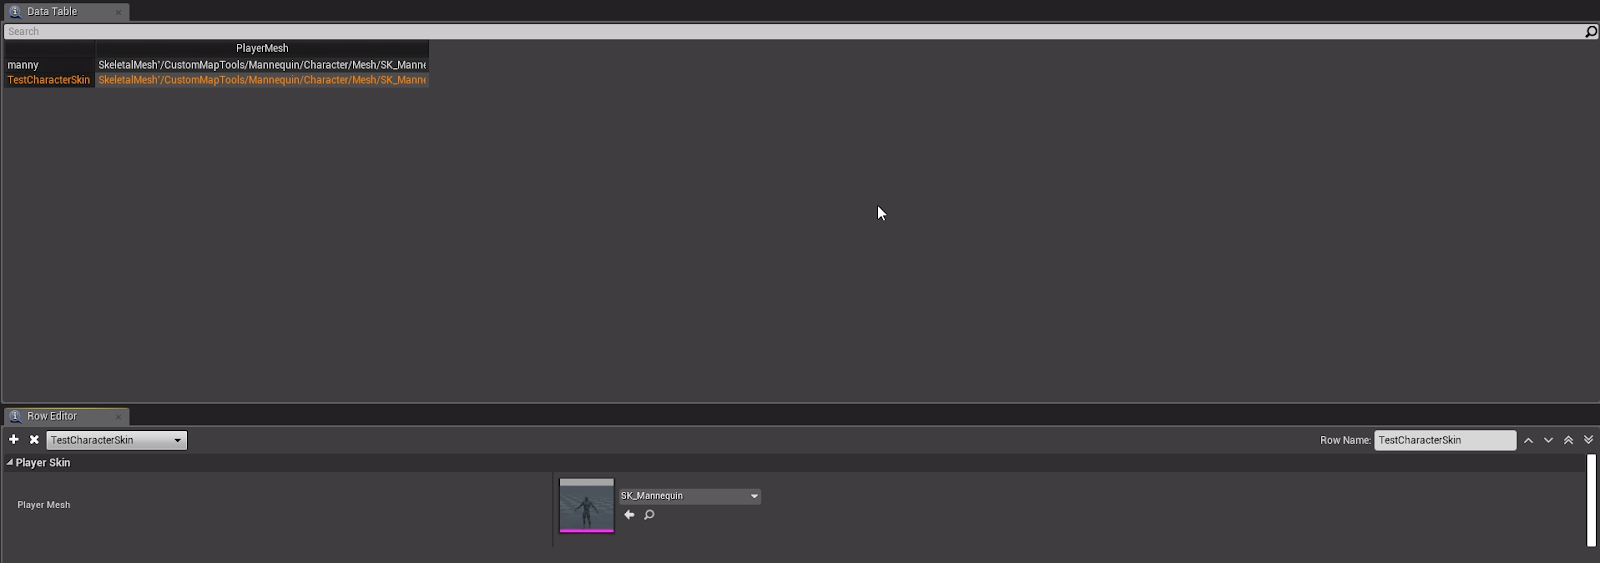
11. Pay attention to this screenshot below you are going to select your skeletal mesh here and give it a name in the row name. This is where you are going to create a table of all your skins
12. Go back to your set player skin blueprint function and set it to the new skin name you just created.
13. Break off event begin play > add switch has authority > add delay node and give 1 second > connect to set player skin and compile
14. Grab a PavlovGameLogic_Example from the blueprints examples in CustomMapTools Content folder and drop it in your UGC and open it up
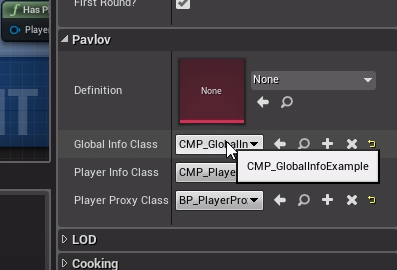
15. In the event graph, you will see a global info class dropdown. No matter if you set one or not it is going to spawn so it’s highly recommended that you set one.
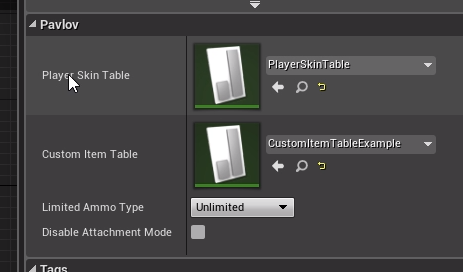
16. Go inside the CMP_GlobalInfoExample (hit magnifying glass), view the class defaults tab near the top and you will see a player skin table. Make sure the Player Skin Table you are using is the one that contains the table of all your custom player skins.
