Replacing the scoreboard
Guide by HTHazard
Make a blueprint actor called widgetInteractor
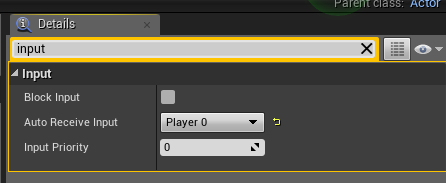
Set it’s input to Player 0
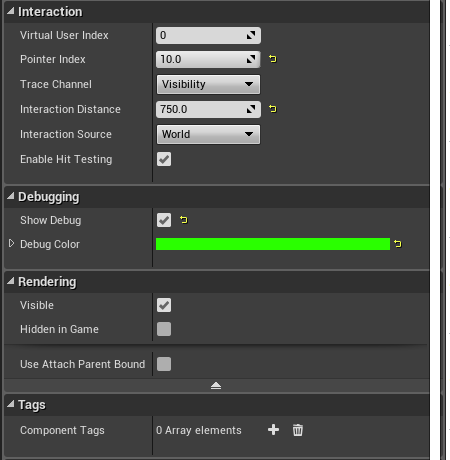
Add a WidgetInteraction component, set pointer index to 10 in the class defaults, and visibility to 750
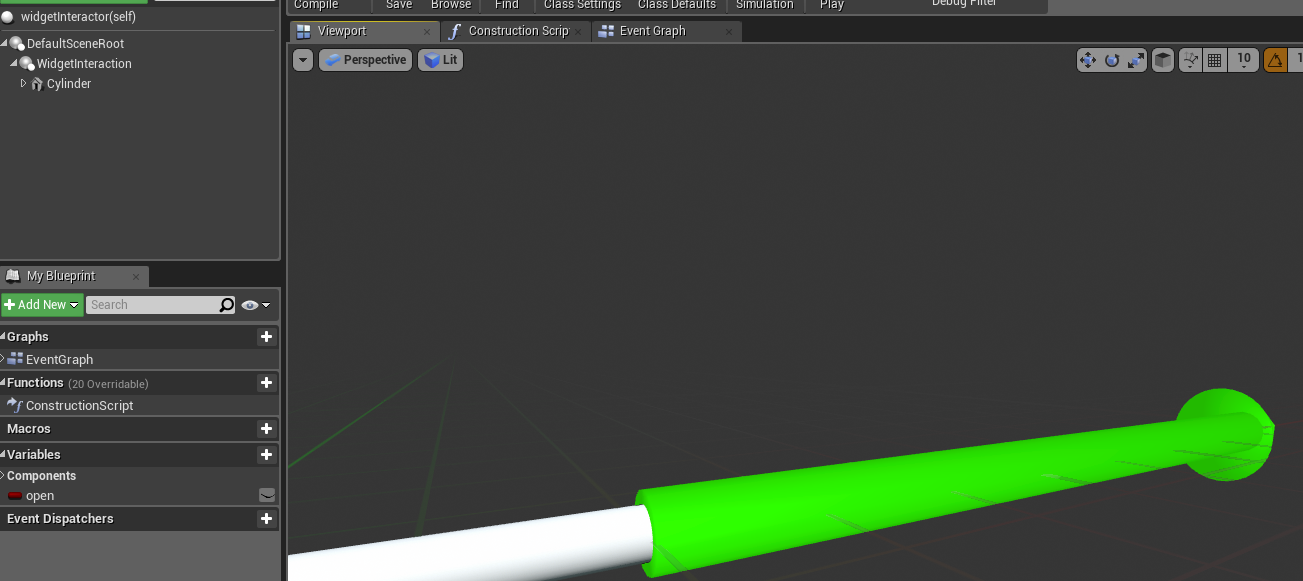
If you want, add a little cylinder attached to the widget so you can see where it’s pointing ingame:
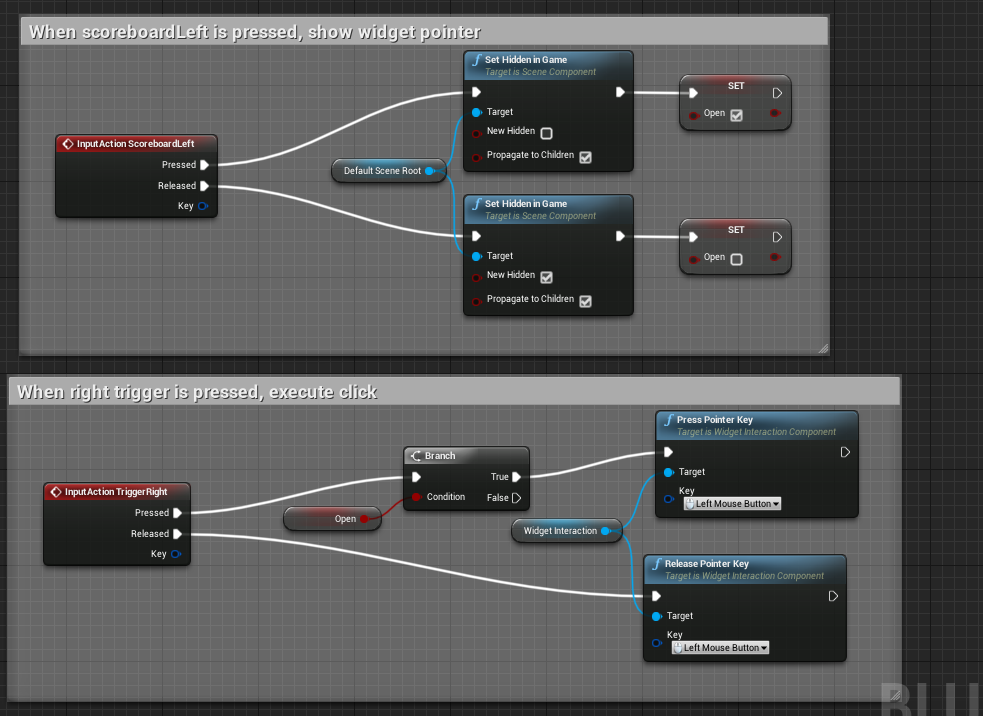
Create two inputAction events, ScoreBoardLeft and TriggerRight Click each of them, set their properties as follows:
Create a boolean named Open, Copy this structure for the events:
Make sure to configure the Pointer Keys to left mouse button
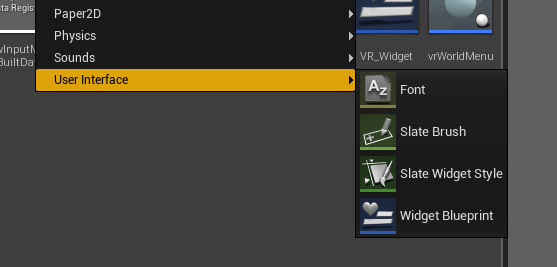
Create new Widget Blueprint, named Menu_Widget
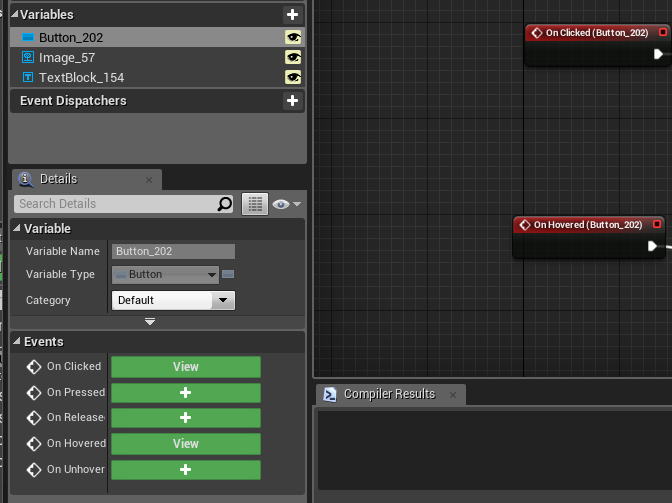
Add a button inside of the widget. Check “Is Variable” in the top right of it’s options.
Go to it’s graph, select your button in the Variables menu, and press onClicked and onHovered
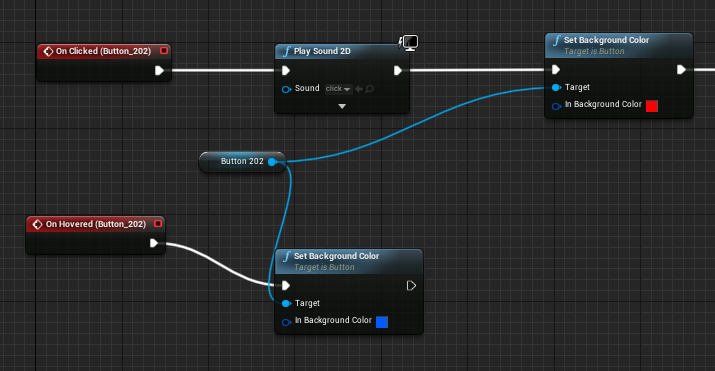
Here’s some example logic you can do now. When it’s hovered by the pointer, turn the button green. When it’s clicked by the pointer, turn the button red.
Actor hosting Widget
Now that we have a 2D menu designed, we need to place it onto a 3D surface. Create a new blueprint actor called VrWorldMenu, and add a Widget component to it. Set the widget class to your 2D widget we just created
Set the actor’s input to the following:
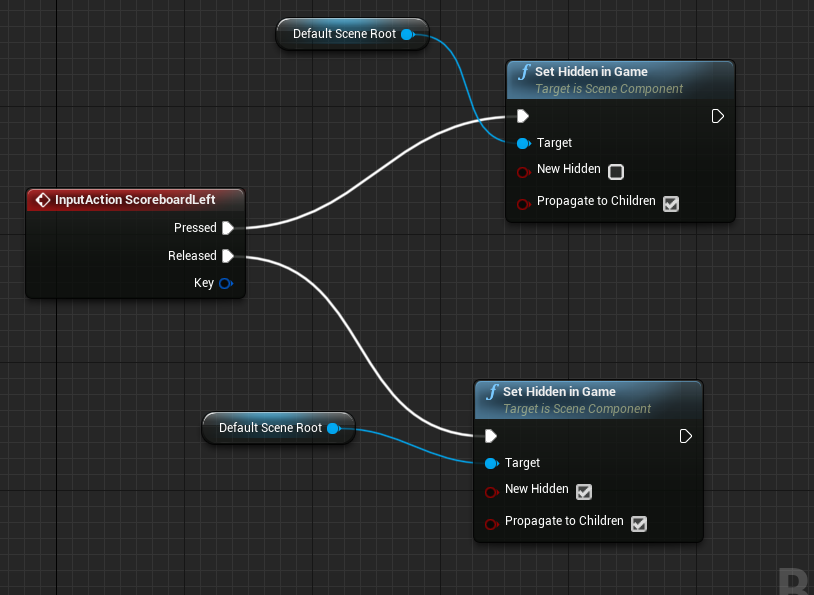
Add the scoreBoardLeft event like we did earlier, and give it this logic:
Spawning our actors and attaching them to the player
Ensure you have a playerProxy copied to your UGC folder, and that it is set as the default in your gamemode logic, which you’ve also copied to your UGC folder.
Open your playerProxy and Setup the following events, callDoGiveInteractor is not replicated, and doGiveInteractor is run on client.
Now, when callDoGiveInteractor is called on a playerProxy, it will spawn your 3D Menu as well as your widget Interactor, and attach them to your hands on clientside only
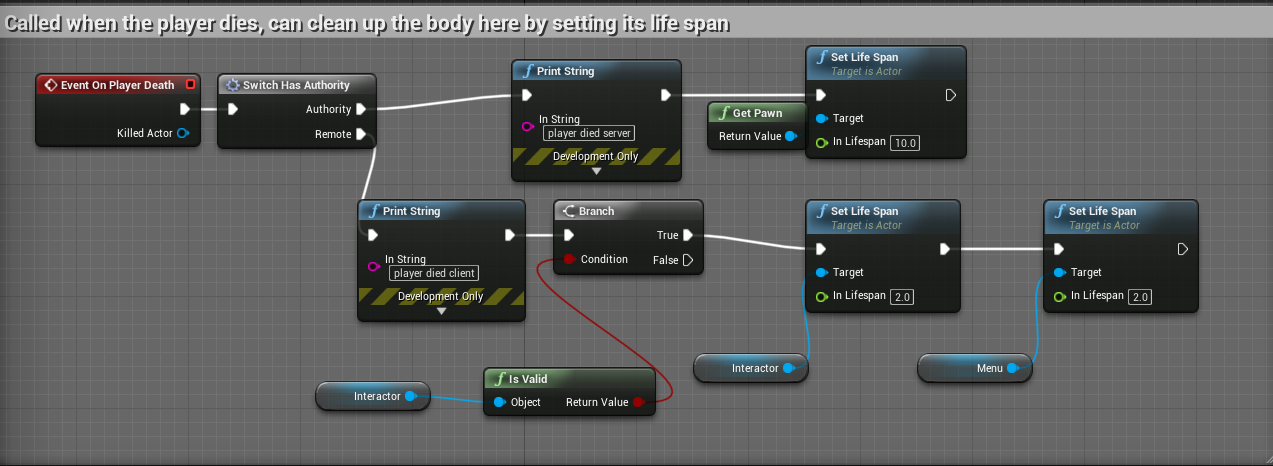
Add this to your OnPlayerDeath event in order to remove our spawned 3D menu and interactor after the player dies
Lastly, we just need to use callDoGiveInteractor from our game logic when a player spawns.
Open up your game logic,
Copy this structure to your OnPlayerSpawned event:
Now, when a player is spawned, your game logic runs an event on the server CallDoGiveInteractor, which then calls out to whichever person just spawned and tells their client to spawn the menus. Done!
NOTE: The purpose of this guide is to show you the general structure of how your gamelogic can communicate with your playerProxy, and how the playerProxy can communicate with your handProxy. Reach out to the general public in #workshop-help to change functionality or if you need help with more advanced things.
